Woodworkers tend to have a lot of wood lying around, and sometimes it becomes difficult to find the pieces you need to make a project. One way to solve this problem is to build a wood storage area in your workshop. There are many ways to make one, but you should make sure it is off the ground and dry. You can also use a table to keep your wood organized and out of sight.
Creating a layout that works for you
There are several things to consider when deciding how to layout your woodshop. First, make sure you have adequate space around tools. If you have a table saw and other long tools, you’ll want to leave at least eight feet of space in front of them and four feet of clearance on all sides. Work tables should be wide enough to accommodate four feet of space on each side. Pathways between furniture should be three feet wide.
Next, you’ll need to consider the size of your lumber and sheetgoods. Unlike small pieces of wood, lumber can be huge. Sheets of plywood can be as large as four feet by eight feet. If your woodshop is in a basement, there may not be much choice about the size of your lumber. If you’re building a garage-based woodshop, you can also put sheetgoods near the entrance so that you can quickly load or unload lumber from your vehicle.
While the size of your workshop is important, you should also consider the tools and strategies you plan to use. Some woodworkers find it useful to use a spare room or closet for their shop. However, in such a situation, you may have to compromise on the location of your tools and the climate control. Nevertheless, you can still create a woodshop that works for you.
Depending on the size and scale of your woodworking, the placement of basic woodworking machines is essential. Also, make sure that you have adequate clearance space around each basic machine. This will allow you to maneuver long stock and large sheet goods around these tools. In addition, take into account how you’re going to use your woodworking machines and how you’ll power them.
Organizing tools
Organizing your woodshop can make a big difference in your efficiency. It will make you feel more productive and comfortable when your workspace is clean and orderly. You should start by organizing tools and putting them in the right place. You may also want to donate some of your tools if you don’t plan to use them again.
One of the most important woodshop organization tips is to avoid obsessive-compulsive-compulsive behaviors. While it might be tempting to sort everything by size, such as wrenches, you should not. Instead, store things that belong together, regardless of their size. If you absolutely must sort things by size, do it after macro-sorting.
Another woodshop organization tip is to keep tools organized by purpose. Tools for woodworking should be stored with tools for other woodworking projects. The same is true for tools used for yard work. Tools for painting can be stored separately and in bins. This will help you find the items you need quickly. Keeping everything in the right place will also improve your productivity.
In addition to organizing tools, you should consider the size of your workspace. You can use a wall board or a small cleat to hang your tools. This helps you identify where your tools belong and will help you get started with your projects. You should also consider where you plan to store tools on raised surfaces.
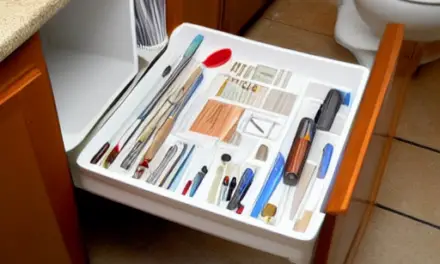
Finally, allocate a designated space for peripheral storage. You should also consider storing your portable power tools. The best way to do this is to assign their place according to their frequency of use. For example, if you use your cordless drill more often, you should store it near your workbench. However, if you rarely use it, you should put it outside the work space.
Organizing sheet goods
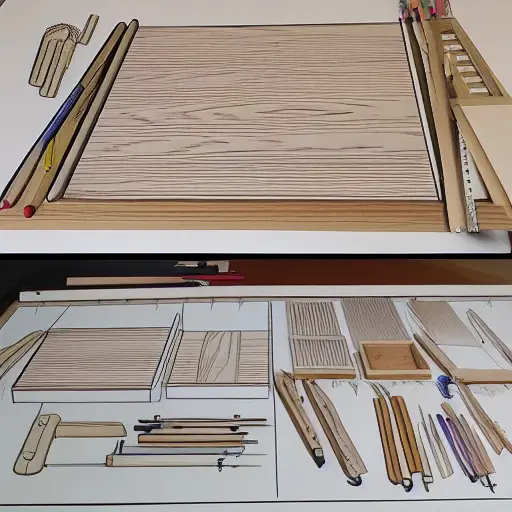
While putting together a shop design, it is vital to keep sheet goods at the top of the priority list. The sheet goods must be stored and cut to size, so you need to create an area in which to keep them. The first step in creating a shop design is creating to-scale drawings of the space. Use these drawings to cut out fixtures and machines and to determine their best placement within the shop.
Using sheet-goods racks will help you organize your sheet goods easily. Rather than having to move them to different areas, you can put them in one place and pivot them out to the shop for easier access. While a sheet-goods rack may seem unnecessary, it will save you time and effort and allow you to do more work.
When arranging your sheet goods, you must always remember that good lighting is key to creating an organized workspace. Everything should have a designated place and you should always put tools away when you are done using them. This will prevent disorganization. In addition to having the right lighting, you must also make sure that the tools are stored correctly.
Woodworking is a craft that requires constant organization. Organizing your woodshop properly will help you create a safe and productive workspace. Whether you’re working with wood or using other materials, these tips will help you make the most of your workshop space. Woodworkers are constantly looking for ways to maximize their workshop space.
Organizing fasteners
Fasteners can be a real mess in a woodshop. There are a few tips for organizing them efficiently. Keeping them dust-free and within easy reach is essential. Organize assorted fasteners by category. For example, clamps, squaring braces, and other fasteners can be grouped together on a shelf near the workbench. Alternatively, you can use an old prescription bottle to hold fasteners. Make sure to label the bottle so you know which fasteners are which. In addition to this, you can drill holes in the shelf so that the bottles will fit through.
Creating a work area for each part of the woodworking process
Creating a work area for each part in the woodworking process is the best way to keep the entire area organized and free of distractions. Woodworking is messy, and the environment in which you work will impact the outcome of your project. If your workspace is disorganized, you will not be able to get a good grip on your project.
A work area for each part of the woodworking task is a must-have in any woodworking workshop. The most successful home woodworkers begin with a specific design aesthetic in mind, and then plan their work flow accordingly. It is important to designate specific areas for different activities, and understand where to keep each tool for each task.
The workflow for woodworking generally follows: wood storage, cutting, assembly, and finishing. Work space can be maximized by placing tools on wheels. A wheeled stand can hold the planer, and when it’s time to use it, you can roll it to a corner and store it there. If your shop is large enough, you can even put the entire workspace on wheels.


