
One of the best studio organization ideas is to set aside a set amount of time each week to work on big projects and tasks. It will be easier to tackle big projects at the end of the week if you have a set time each week to devote to them. For example, if you want to organize your studio for the holidays, you might want to create separate lists for each month. In addition, you should also separate these big projects from the small ones that you do throughout the week.
Storage ottomans
Whether you’re starting a new art studio, organizing a home office, or need storage for art supplies, storage ottomans can be a valuable addition to your home. Using these furniture pieces as storage solutions can keep your studio organized and make your workspace more appealing. Luckily, there are many different styles and colors to choose from.
Storage ottomans are a functional and stylish addition to your home. They have a hinged top, a comfortable seat, and plenty of storage space. They can also store extra blankets, reading materials, and other items you might need to keep close. Some are even designed as a footrest for your feet.
If you are looking for an affordable storage solution for your home, consider purchasing an ottoman that serves multiple purposes. For example, a wide TV stand can be a convenient place to keep media devices. An ottoman with storage can also be used as seating and a makeshift table. They are the ideal solution for organizing a studio apartment.
A storage ottoman may also be used as a footrest. A storage ottoman with a cushioned top is a great solution for people who want to keep their feet up. The Joybird storage ottoman is available in various colors, including dark grey and white. The joybird is available in a variety of fabrics, including those made for pets. The cushioned cushion is filled with foam and down.
Floating shelves
If your studio has limited space, floating shelves can help you maximize it. These shelves can save valuable floor space, while the narrow ones are perfect for holding keys and mail. Floating shelves are also available in a variety of colors and can be purchased from online retailers like Amazon. Prices start at about $30 for two-foot lengths, and you can purchase larger ones as well.
You can use floating shelves for art display, books, and even photos. Try using shelves that match the color of your desk to make the best use of vertical space. Alternatively, you can use them to create a bold contrast against the white walls. You can even add a small plaid rug to the space to add a bit of personality. You can also place leaning artwork on these shelves, which is reminiscent of Parisian style. This type of display is especially effective when you use small objects of various heights together.
Floating shelves are also a great choice for displaying art, and you can use them to make a spectacular display. You can use downlighting or uplighting on the shelves to give them a dramatic effect and illuminate more of the empty space.
Rolling island
If you’re living in a small studio apartment, you can maximize your space by using a rolling island as a storage solution. These versatile units can be placed in the kitchen, living room, or bathroom, and can be easily transported from one room to another. The beauty of a rolling island is that it can be used for multiple purposes.
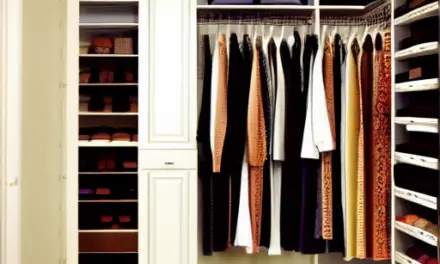
Shelving
To make the most of your studio, you can use shelving. Wall-mounted wooden storage shelves are a great way to store your craft supplies. A blogger from Skip to My Lou made her own shelves from wood planks, wood filler, and wire brads. A similar look can be achieved with a closet system.
Another good solution is over-the-door storage. These are especially useful for small items and produce. They can also serve as storage areas for clothing and cleaning materials. You can also hang pots and pans to save space in your kitchen. Using over-the-door storage can make a huge difference in your storage space.
Organizing your art supplies
To make it easy to find your art supplies, you can arrange them in different drawers or boxes. When you’re finished using one, put it back into its storage place. This way, your workspace will be less cluttered and you’ll be less likely to waste time searching for it. You can also organize your materials by type.
When organizing your art supplies, group them according to type. This way, you can find what you need in seconds. You might want to try baskets, boxes, or bins to separate them. You can also reuse things if they’re no longer being used. Organizing your art supplies doesn’t have to be difficult or expensive.
Once you’ve identified the materials you use most often, you can decide how to arrange them. If you have space, you can put them in a cabinet. For example, you could put your paints and brushes on the top shelf. But, if you don’t have much space, you can arrange them in a drawer, so they are easy to reach.
Once you’ve made a system for organizing your art supplies, you should dedicate time to maintaining it. Having an organized studio will help you be more efficient and productive, leaving you more time to enjoy your art.


