There are a variety of ways to determine the right size of your friendship bracelet. You can use a size chart from a website, or you can measure your wrist and round the measurement up to the nearest centimetre. You can then look at the table below to get a general idea of the size you should buy.
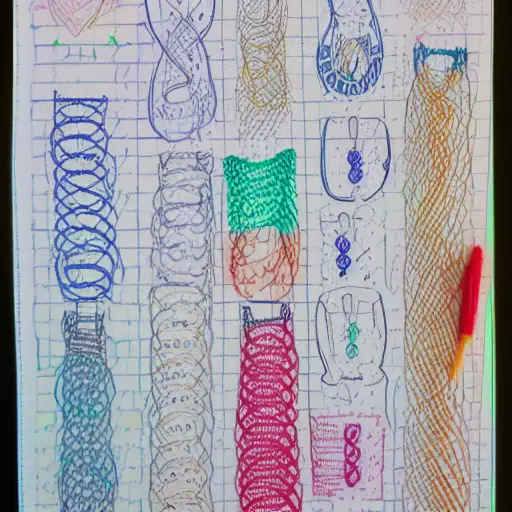
Embroidery floss is the best string for friendship bracelets
While you can use thread to make friendship bracelets, embroidery floss has a few advantages. It is more durable, comes in a wider range of colors, and is cheaper. You should choose thinner embroidery thread if you are just learning to weave. The thinner the thread, the more delicate it will be.
Embroidery floss is a flexible material that comes in a variety of fibers. Depending on your bracelet style, you can use different lengths of floss. For instance, if you plan to make a knotted friendship bracelet, you will need more floss than if you choose a straight bracelet.
Embroidery floss has a smooth texture and is the best string for friendship bracelets. There are several brands available in the market, so you can choose the one that works best for you. You should carefully measure the length of the embroidery floss before you start tying it to the bracelet. Otherwise, you will end up wasting material.
Embroidery floss can be expensive, so you may want to opt for other materials if you don’t want to spend too much. Craft thread is another option, though it doesn’t have the same luster as embroidery floss. The advantage of craft thread is that it is a higher-quality material. It is also soft and won’t fade.
If you are a beginner braider, you can start by braiding friendship bracelets using three strands of floss and learn the knots. Then, you can start making more complex friendship bracelets, or you can create a complex pattern. Beginners can even make a candy stripe bracelet using embroidery floss, which comes in a huge pack.
Craft thread is a cheaper alternative
Craft thread can be purchased in a variety of colors and is a cheaper alternative to friendship bracelet size charts. It is usually made from mercerized cotton and comes in a range of pastel hues. The thread is lustrous and soft to the touch, making it an ideal choice for friendship bracelets. Another great option is yarn, which is used for needlework. This type of thread is much softer on the hands and comes in a variety of colors.
There are many types of craft thread available, from leather to elastic to wire and chain. These materials are relatively cheap to buy online. However, there are certain considerations when using them. First, craft thread does not have a high tensile strength, so it needs to be used with extra care. If the bracelets are meant for regular use, you may want to consider using a more durable material.
Craft thread is the most common type of thread used to make friendship bracelets. It is composed of 6 strands and is a cheaper alternative to embroidery floss. However, unlike embroidery floss, craft thread is not as durable and can break easily if you pull too hard on it.
Double knots help flatten curled friendship bracelets
To avoid the common problem of friendship bracelets curling, make sure that you use a double knot. A double knot is created by alternating a backward and forward knot. This prevents the bracelet from curling and twisting. Double knots can be created in many ways. Below are some tips for creating them. Make sure to follow the instructions carefully! Also, make sure to keep an eraser handy, as you may need to erase previous color rounds to start a new row.
The second method for flattening a curled friendship bracelet is to tie a double knot. Double knots are useful because they make the cord stay flat. This technique is simple and quick to master. For best results, use a cord of the same color as the existing one. This will help it blend into the bracelet as you make it. It’s best to leave at least 4 inches of cord at both ends.
Another method to flatten a curled friendship bracelet is to use a straightener or flat iron. These tools are great for straightening a bracelet, but be careful not to burn the thread. Make sure to use 100% cotton thread. Then, simply place the friendship bracelet between paper towels and let it dry.
To create a square knot, you need to pull the two strings together. Start with the first loop of the forward knot. You should then make a loop with the second and third strands. After that, make sure that the working string crosses the second string and pulls through it. Repeat this procedure on the fourth and fifth strands.
Adding a buckle to a chevron bracelet
Adding a buckle is an exciting innovation that can give a chevron bracelet a unique style. In order to create this kind of bracelet, you need to measure the girth of your wrist. Then, divide the girth of your wrist by the number of strings. Typically, friendship bracelets will be between thirty and seventy inches in length.
You’ll need three strings, one for each chevron row. You can use thick hemp or yarn to create this style. For a chevron bracelet, you can choose a color combination of two or three different strings for a customized design.
An adjustable ladder buckle is a great addition to any chevron bracelet. The buckle is made from 316L stainless steel and features a natural curvature. Another style is the brushed hardware option, which has a matte or brushed top surface.
A chevron friendship bracelet is an easy craft that most kids will enjoy. You can find inexpensive embroidery floss and household tools that will make it easy to create a beautiful chevron bracelet for yourself and a friend. These bracelets are also highly customizable, so you can use items lying around your home. Just make sure to practice first to make a perfect one!
Another easy way to add a buckle to a chevrn bracelet is to tie a knot on the center. After that, you should add a white strand in between the two other strands until you reach the center. If you have a wide wrist, you can use a larger or smaller string to make your bracelet bigger.
Once you’ve completed the bracelet, you can add a buckle. The pattern #888 has fourteen threads on the outermost side, making it perfect for two buckles. It also has two sides with different colors. The right side of the bracelet is made by tying two half hitch knots. The other side is the same as the left side.
Finding the right size for your wrist
If you’re trying to make a friendship bracelet, you need to find the right size. The first thing you need to do is measure your wrist. Ideally, the length of your first strand should be the same length as the thread you’re using. If your wrist is shorter than the length of the first strand, you should make the second strand longer.
Then, measure each of the remaining strands, starting from the leftmost strand. This will ensure that you’re using the correct length. If you’re doing a striped pattern, be sure to spread out the colors evenly. Make sure you don’t cross over any strands, though.
There are many different ways to find the right size for your friendship bracelet. You can either use a flexible measuring tape or a ruler and write down the measurements on the paper. This will help you determine the length of your bracelet. If you’re shopping online, you can find the right size by comparing the measurements.
Once you have made sure you’ve made sure your bracelet is the proper size, you can start cutting off any extra string. You can cut off any excess strands with scissors. You’ll also want to tie the ends together. This will make the bracelet snug. This way, you won’t have to worry about the length of your bracelet getting too long or too short.


