If you are an artist, organizing your art studio can be an important task. While some artists prefer a neat and organized space, others like to have a messy one. You can donate your old art supplies to art centers, schools, churches, and community centers if they are still in good condition. However, you should not throw away materials that you do not use.
Getting rid of materials you don’t use
Getting rid of materials you don’t need in your art studio can be a time-saving task. First, divide your art supplies into donation and trash piles. Once you’ve sorted them, return them to their proper storage locations. This will keep your workspace organized and prevent you from spending too much time looking for things.
Next, you should consider whether you need those materials anymore. Many art materials are toxic, which can cause health problems in both animals and humans. If you don’t use them anymore, it’s time to get rid of them. Make sure to label them and keep them in their original containers. You can also consider using tightly-lidded jars to store hazardous materials.
Organizing canvases
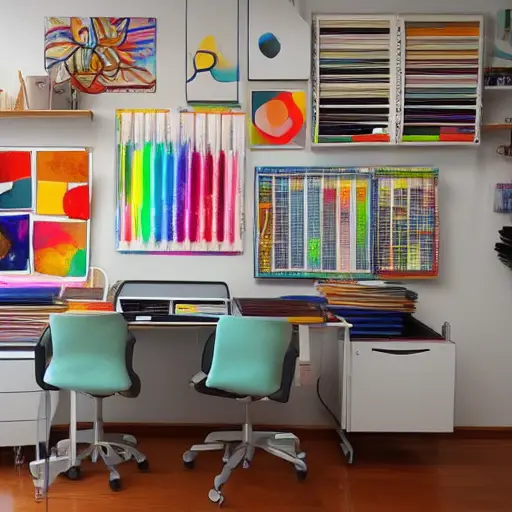
It is important to organize your art studio. If you have a large amount of canvases, it can become overwhelming and cause damage. Using a custom shelving unit can minimize the amount of space needed and ensure that canvases are stored properly and safely. You can also store your paint sets in this cabinet.
Having an organized studio will help you stay more creative and productive. It can be difficult to find the right supplies when you need them, but following some simple organizing tips can help you keep your art studio neat and organized. You should use different color labels for art supplies so that you can find them easily. Reusable containers, like coffee cans or Mason jars, can also help you organize your supplies.
Art supplies can be expensive and should be organized well. Canvases, sketchbooks, paper, and other materials need to be stored in a way that helps them last longer. You should place frequently-used items together in bins and shelves. Make sure you have a sturdy step stool when you need to reach these items.
Organizing wire shelving units
Wire shelving units are lightweight and a versatile way to store art supplies and other supplies. They can be used to store everything from drawing supplies to ceramics. The units can also be used to cool off pottery pieces. The units can be positioned in a corner or under a table for easy access. You can label the containers to easily find what you need.
Wire shelving is not always the best choice for heavy materials. The best option is to get a unit that has adjustable shelves. A five-tier unit made by Seville Classics can support 300 pounds on each tier. Another option is a steel shelving rack from Yohkoh. It offers versatility and trouble-free installation and features five adjustable shelves.
If you’re on a budget, look for freestanding shelving units at thrift stores or second-hand stores. You can also try Facebook Marketplace or OfferUp to find inexpensive shelving units. In addition to buying new units, you can also makeover old ones to add more storage.
Organizing a peg board
One great way to organize your art studio is by adding a pegboard. A pegboard can be used to hang various supplies and tools. It’s also great for organizing your home office. It can help you organize the wall space above your desk. You can hang art supplies, office supplies, and files on it. You can also use a pegboard to store baskets and other small items.
Pegboards come in a variety of sizes and styles. The pegboard you purchase can be as large or as small as you need. The pegboard’s edges are supported by a pegboard frame that creates a 1/2-inch space behind the board, so you can hang tools and other items without compromising the pegboard’s structure. You can even use pegboard pipes or hooks to hang slender tools.
A pegboard can also be used for organizing laundry supplies. Laundry supplies can take up a lot of room, so using a pegboard can help keep them off the floor and organized. Pegboards can also make separating clothes easier.
Organizing milk glasses
Art supplies can quickly become a mess, so you may want to consider using milk glasses to store them. These glasses are often inexpensive and look beautiful displayed on a table or a beautiful tray. Not only are they useful for storing art supplies, they can also be used as storage containers in the home office. Here are some tips for keeping craft supplies organized in your studio: Organize craft supplies by type.
Organizing shoe boxes
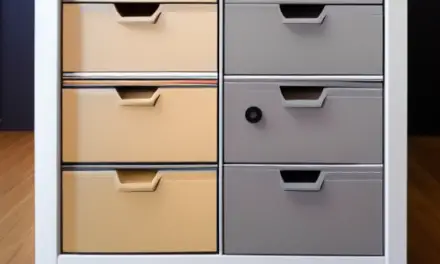
You can find an array of storage containers, including plastic shoe boxes, at most big hardware stores. When using shoe boxes for storage, it’s important to separate materials into their own bins. Then, group supplies by project and create specific containers for those materials. Plastic shoe boxes are an inexpensive option, costing only a few dollars each.
You can also use magnets to store small items. If you have space under your desk, you can place metal containers on the bottom of shelves. This will keep your studio organized and free of clutter. You can also use shoe boxes to store your brushes and other art supplies. It’s easy to lose track of where you put things, so use your art supplies in the appropriate container.
Another important tip for organizing your artist supplies is to label everything. While you may think that you need to keep all your materials on display, the truth is that you probably don’t need all of them. If you have a limited storage space, keep only essential materials and items, and allocate more storage space elsewhere.
Organizing cardboard boxes
Art supplies can quickly take over a workspace. Clearing your workspace will increase your productivity. There are several art studio organization tips you can use to achieve this. Some of these tips are simple but effective. Here are some examples. Follow these tips and you’ll be well on your way to organizing your workspace.
The first tip involves creating an organizational system. If your studio is small, you might not need to go through this step. Everything should be within easy reach. But if your studio is larger, you may need a more elaborate system. To keep your supplies separate and organized, consider putting them in meori boxes or other containers.
You can make your own art supply organizers using cardboard boxes. Use double-sided tape or hot glue to create separate compartments. Use small pieces of cardboard to create dividers, and glue them down in rows. You can then fill the organizer with your art supplies. You can also use recycled plastic bottles or mason jars as a storage space for smaller items.


